Car Body Kit Basics: What Every Driver Should Know
If you’ve ever stared at a sleek sports car and thought, “I want that look,” a car body kit is the fastest way to transform your vehicle. It’s not just about aesthetics – a well‑chosen kit can improve aerodynamics, reduce drag, and even add a bit of extra downforce. In this guide we’ll walk through how to pick a kit that matches your budget, how to check fitment, and quick DIY tips to get it on your car without a garage full of experts.
Pick the Right Kit for Your Goals
First, decide what you want out of the kit. Are you after a subtle upgrade, like a front lip and rear spoiler, or a full‑blown widebody look? Budget matters here – a front bumper replacement can cost as little as £200, while a full set of carbon‑fiber panels can push past £1,500. Materials speak loudly: fiberglass is cheap and easy to paint, but it can crack under impact. ABS plastic offers durability at a modest price, and carbon fiber delivers strength and weight savings for serious enthusiasts.
Next, think about your car’s make and model. Most manufacturers release kits designed specifically for popular models, and those tend to fit better out of the box. If you own a niche vehicle, you might need a universal kit that requires extra trimming and drilling. Check the product description for a fitment chart – a good seller will list exact years and trim levels the kit supports.
Fitment Checklist Before You Buy
Skipping the fitment check is a common mistake. Here’s a quick checklist:
- Verify mounting points line up with the factory brackets.
- Confirm the kit includes all needed hardware – bolts, clips, and brackets.
- Look for a detailed installation guide or video.
- Check return policy in case the parts don’t match.
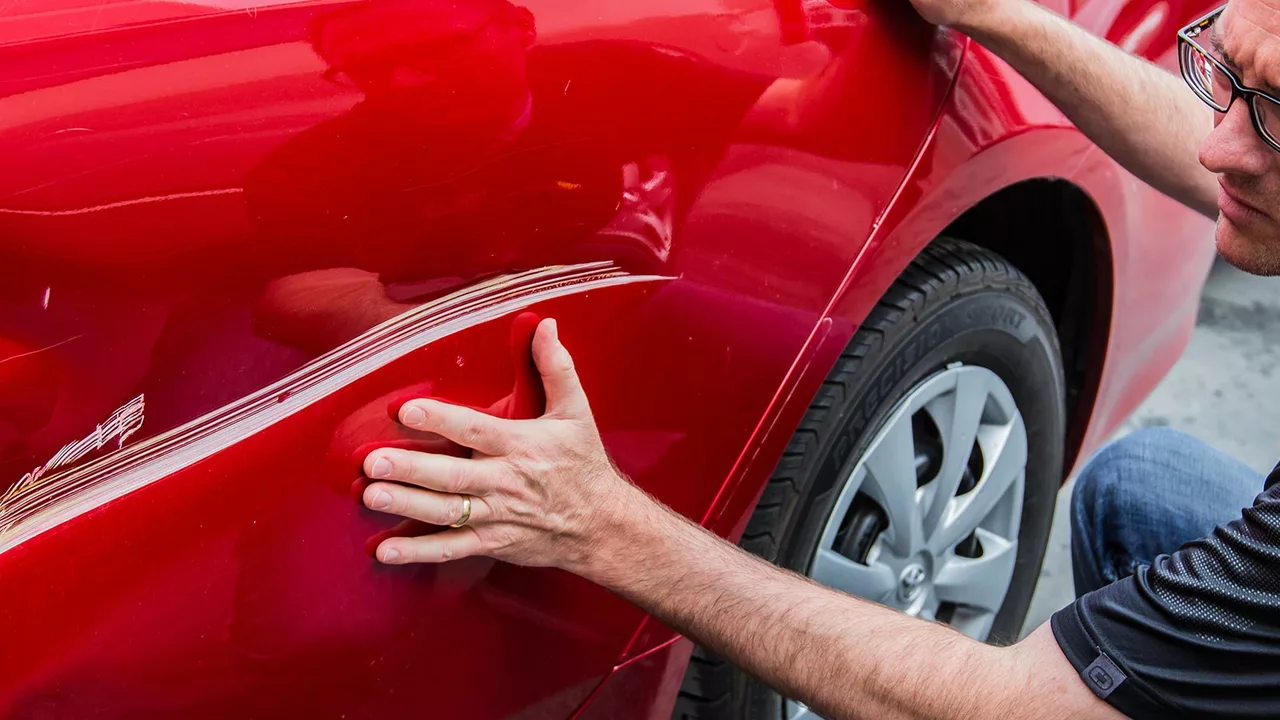
When you receive the kit, compare it side‑by‑side with your car’s existing panels. All holes should line up without forcing. If you notice misaligned cut‑outs, contact the seller before you start any work.
DIY Installation: Simple Steps to Get It Right
Most body kits can be installed with basic tools – a socket set, screwdrivers, and a drill. Start by removing the factory part. Keep all bolts and clips; you’ll need them for the new piece. Clean the mounting surface thoroughly to ensure a tight seal. Some kits come with adhesive backing; if yours does, apply a thin layer of automotive‑grade glue, press the part in place, and let it cure for the recommended time.
After the new piece is secure, double‑check all fasteners. Tighten bolts in a criss‑cross pattern to avoid warping the panel. Finally, blend the new panel with the rest of the car using sandpaper and paint. If you’re not comfortable with painting, many shops offer a quick spray‑on service for a few hundred pounds.
Remember, safety first. If a panel feels loose or you notice rattling while driving, stop and re‑inspect the bolts. A solidly mounted kit not only looks great but also performs as intended.
With the right kit, careful fitment checks, and a bit of DIY know‑how, you can give your car a fresh, aggressive look without breaking the bank. Ready to upgrade? Browse our selection of high‑quality body kits and start planning your ride’s new style today.
If you're looking to have a body kit installed on your car, your local auto body shop would be a good first stop. These shops have professionals who specialize in modifying cars. You can also consider specialized tuning shops that focus on custom car modifications. It's important to do your research and find a reputable shop with positive reviews. Remember, quality installation is key to ensuring your body kit enhances your car's look and performance.
 Motorsports and Racing